Setting up Android Studio and Eclipse Side-by-Side on Windows 8.1
Introduction
I’ve setup my Android environment many times in the past. I’ve learned what does work and what doesn’t work. I decided I’d start from scratch and show everyone how they can get setup using and developing for Android without a headache. Unlike Visual Studio, where you download an .ISO image and you are done, Android requires a bit more work. If you follow this guide, I promise it will prevent you from many visits to StackOverflow on why you are getting some unknown error when launching Eclipse or Android Studio.
Why Install Both?
First, I should probably answer this question. Eclipse is the way most applications for Android was built in the past. It is stable and works well. Android Studio on the other hand is very new and in preview state, but is the direction that Google is moving forward with. Having both installed makes sure you can run every project type and learn the new IDE as well as have Eclipse as a backup.
Install the Java SE Development Kit First
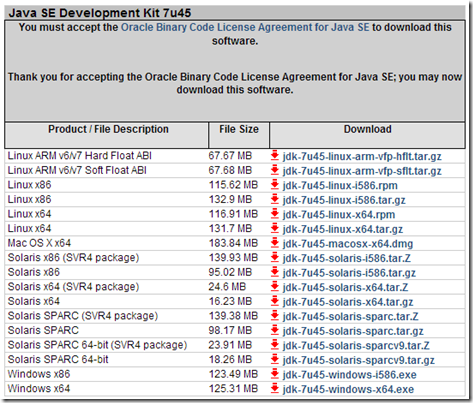
Begin by navigating over to this page and accepting the terms and conditions and grab the binary that fits your OS specs. In my case it was Windows x64 at the very bottom of the page.
Go ahead and install it by clicking Next through the Wizard. I went ahead and left the defaults and installed everything.
Install Eclipse
Head over to this page and click “Download the SDK” – this comes with the ADT bundle that includes everything you need to develop android apps.
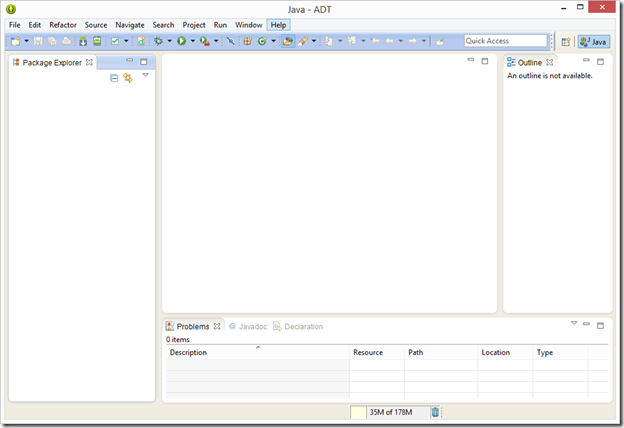
After it is downloaded, you will have a .zip file. Go ahead and extract that .zip file to a folder on your hard drive. I simply called mine, “Android” and you will have a folder called eclipse, inside it contains a file called Eclipse.exe. Create a shortcut for it on the desktop and launch the app.
Note: You do not need to run an installer if you use Eclipse. Just run the executable.
- The first dialog that you will see is a “Workspace Launcher”, this is where you will store project files. You can accept the default or choose another location and hit “OK”.
- The second dialog is to contribute usage statistics. You can either opt-in or out out here. You can also change this later on in the options.
- Read the “Welcome” screen if you want, then close it.
And you are now ready to “Build your first app”
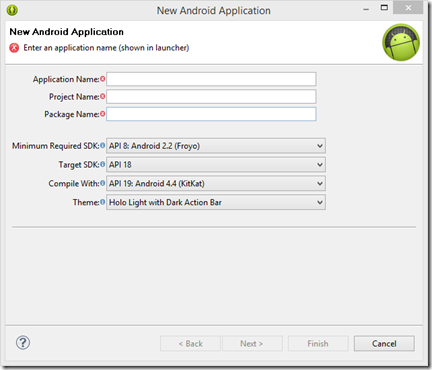
Press “Alt-Shift-N” and select “New Android Application”. You will see that it automatically included API 19: Android 4.4 (KitKat)
Install Android Studio
Android Studio is at a preview state at the moment, but Google is pushing forward their development efforts with this new IDE. You can download a copy of it here. It uses an installation wizard unlike Eclipse and all you have to do is sit back and wait for it to finish. Once it is finished you can either import your settings from a previous version of Android Studio installed or proceed with a new setup.
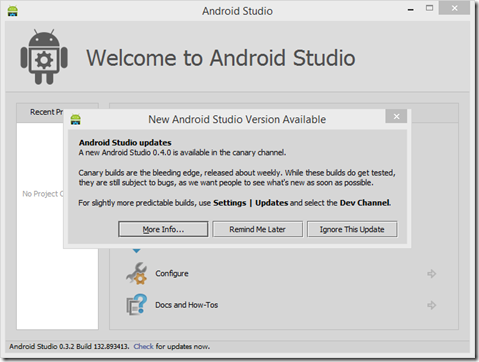
Upon first launch, it will go out and check to see if there is a new build in the canary channel. These builds are not proven, but will keep you on the cutting edge. I personally always upgrade as soon as a new build is available. This is up to you.
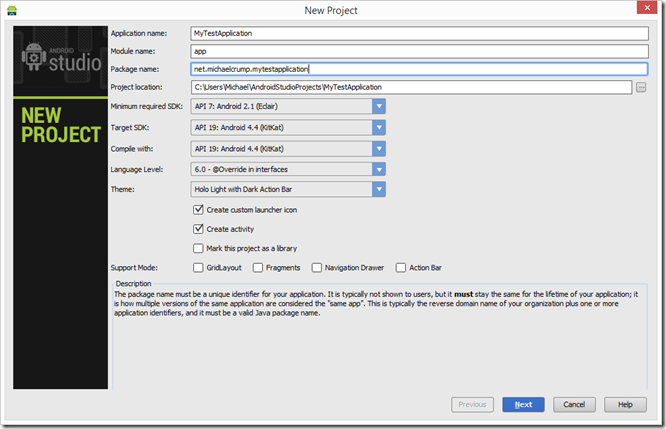
Once you clear this dialog, you can now create a “New Project”, just make note that the Project Location is different from the one that Eclipse sets up.
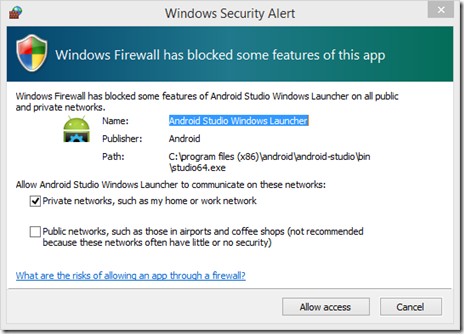
You will more than likely need to allow the JRE/Android Studio Windows Launcher access to your private network. It will prompt you.
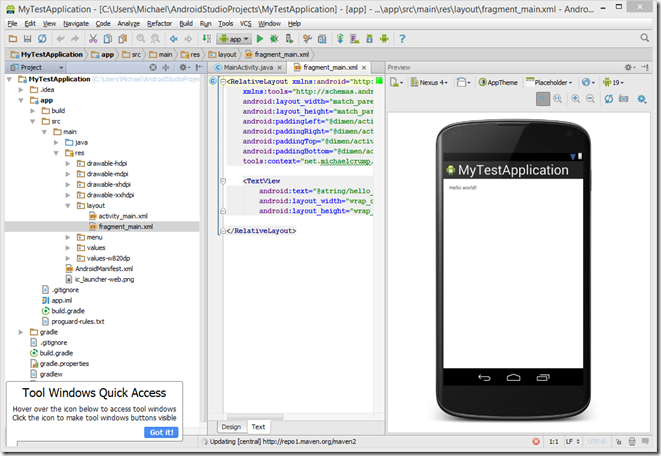
Now you are ready to build applications.
Setting up your AVD to deploy to the emulator
If you select the “Run” button, you will notice that you don’t actually have any Android Virtual Devices created.
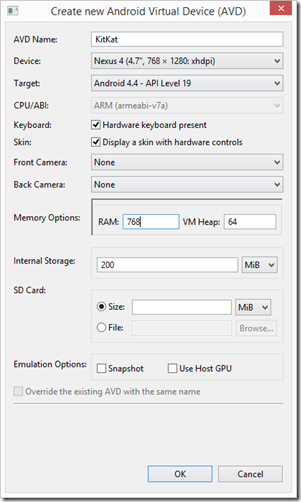
This will trigger the Android Virtual Device Manager. Click on “New” and add the following information and click the “OK” Button.
This will setup an AVD for the latest OS with a Nexus 4 as the target device. I also allocate at least 768 MB of Ram to it. You may want to add 30 to the SD Card options if you need to test storage data on an SD card.
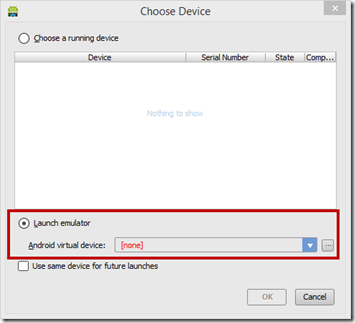
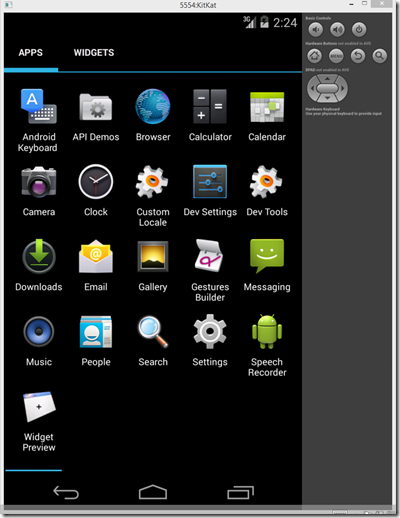
Now when you launch your application, you will have the option to launch your “KitKat” AVD.
Beware that when you first launch the emulator, that it takes a long time to spin up. Don’t worry, we will cover this in another blog post.
Conclusion
Thanks for reading and I hope this helps someone out there. I’ll be adding more blog posts to cover other areas of native Android Development. If you have a request, send me a tweet on twitter at mbcrump.
TweetFollow mbcrumpNo new comments are allowed on this post.

Comments
No comments yet. Be the first!