Setting the Default Emulator Image in Xamarin.Android
Introduction
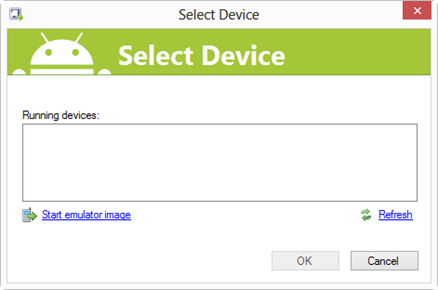
If you are using Xamarin with Visual Studio 2012 to build Android applications, then one thing you need to get used to is the concept of AVD (Android Virtual Devices). Upon the first launch of an Android application built with Xamarin you have to go through the following steps:
Select the “Start emulator image” as shown below.
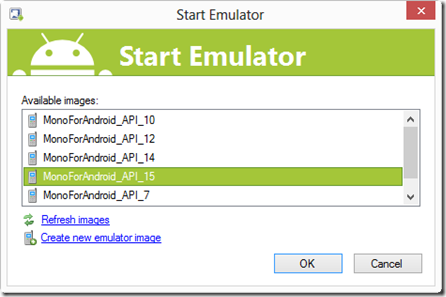
Select which image you want to load and press OK. (All of these are installed by default)
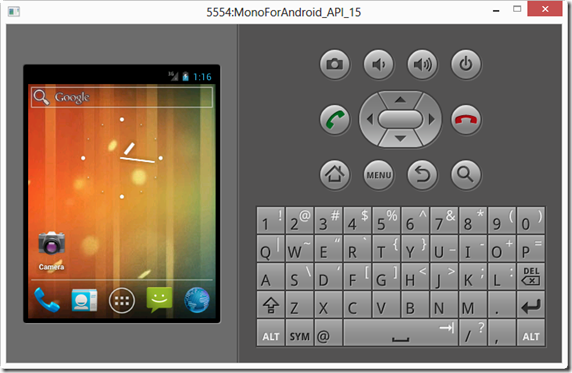
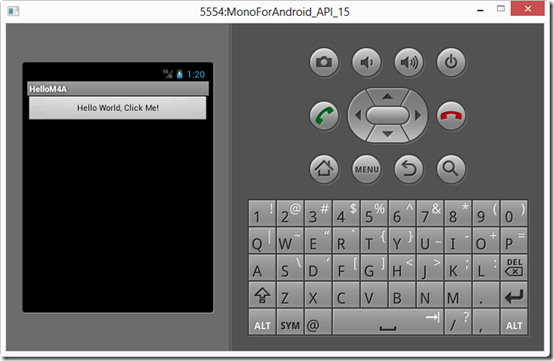
Give it a few minutes and the emulator is loaded.
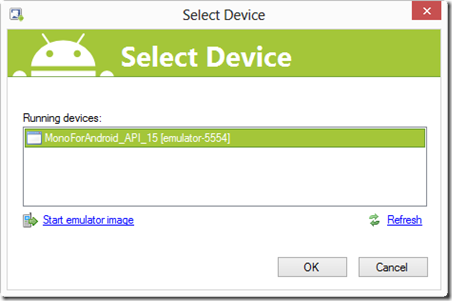
At this point, you will need to switch back to Visual Studio 2012 and select from the list which running device you want to deploy the application to and press OK.
Visual Studio 2012 will then package the app and deploy it to the emulator.
If you launch the application again, it will ask by default which emulator image to use again.
Let’s see if we can make this a bit easier. The default Visual Studio 2012 toolbar looks like the following:
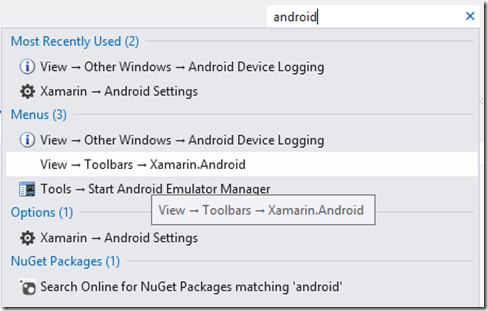
If we use the Visual Studio 2012 Quick Launch, then we can type android and see the following list:
Select Views –> Toolbars –> Xamarin.Android and your toolbar will now look like the following:
You can now switch the “Prompt for Device” option to be whichever image is currently running, saving you an extra step in the deployment process.
Conclusion
I hope this helped as I have been experimenting with Xamarin.iOS and Xamarin.Android and absolutely love it. If you have any questions, then just let me know.
TweetFollow mbcrumpNo new comments are allowed on this post.
Comments
No comments yet. Be the first!