From Soup to Nuts: Using VirtualBox with Windows 8 Developer Preview
I am like everyone else when it comes to Preview OS Software. I don’t want it on installed on my primary machine and I don’t want to lug around another laptop to try stuff. I am not a fan of booting of VHD (which I will explain in a second). Scott Hanselman made a great post on how to do this if you are interested however. The main issue that I see with this approach is that the bootloader on my MAIN MACHINE is replaced with the Windows 8 Preview one. Yikes! I don’t want any preview software with that kind of control of my system. So, what did I do? I installed VirtualBox and then installed Windows 8 Developer Preview onto it. I captured almost every screen, so it may be helpful to even a beginner.
Let’s get started.
Update: If you want to use a adjust the resolution to something like 1920x1080x32 then follow Mister Goodcat’s tutorial located at http://www.pitorque.de/MisterGoodcat/post/Installing-Windows-8-Developer-Preview-in-a-virtual-machine.aspx.
Step 1
Before you download any software, go ahead and make sure you have Virtualization Technology turned on in your BIOS. Here is a great guide on how to do that.
Step 2
Install and download VirtualBox 4.1.2 or later (if it exist).
http://www.virtualbox.org/wiki/Downloads
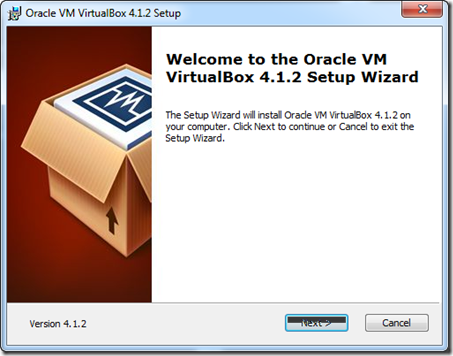
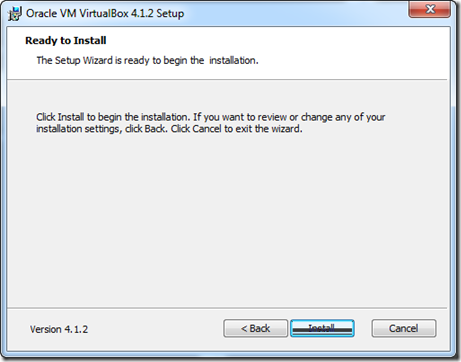
Go ahead and double click on the installer and go through the following screens:
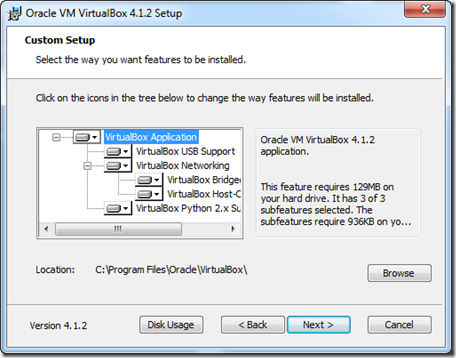
I left this page at the default settings.
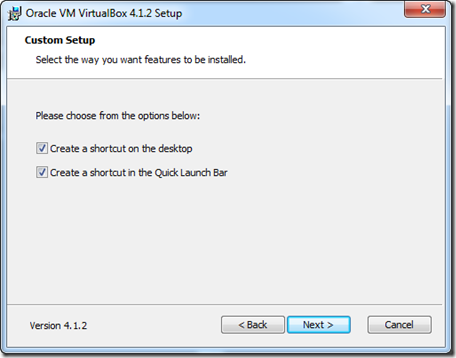
Same on this page.
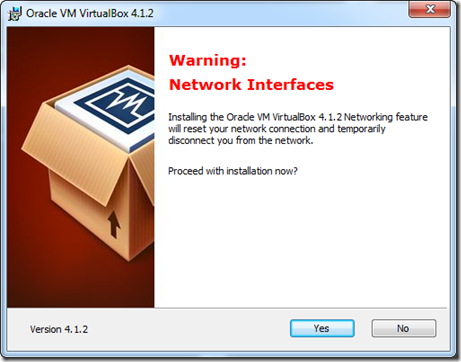
This next page will warn you that it will reset your Network Interfaces:
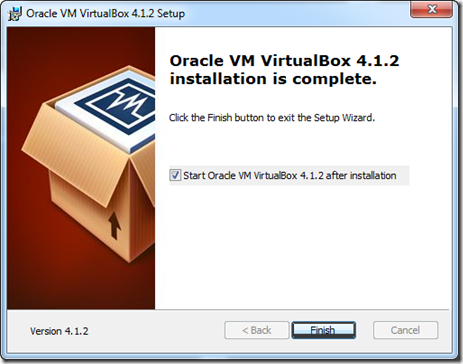
..almost finished.
And your done.
Step 3
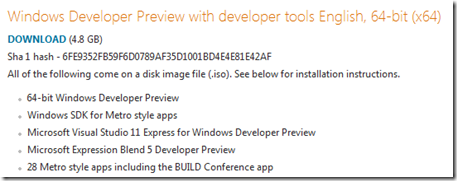
Now would be a great time to download the .ISO if you haven’t already. There are a couple of different versions of the .ISO. Since you are reading a developers blog then I would assume you want the one on the top that comes with the Developer Tools.
The other versions do not include the tools, but Microsoft has provided a x64 / x32 as well.
Step 4
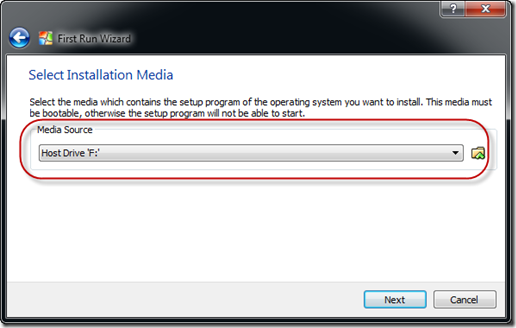
Brett Stanley – http://www.objectsplus.net gave a great tip that I failed to mention: I wanted to add that in the First Run Wizard, Select Installation Media screen you can choose an .iso directly, negating the need to mount the image with another tool. :-)
or
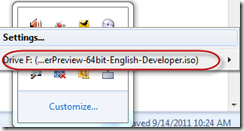
Once that is downloaded, then you might want to go ahead and mount the .ISO using CloneDrive.
The process is simple as it’s just a right click on Mount Drive then browser to the .ISO Image.
Step 5
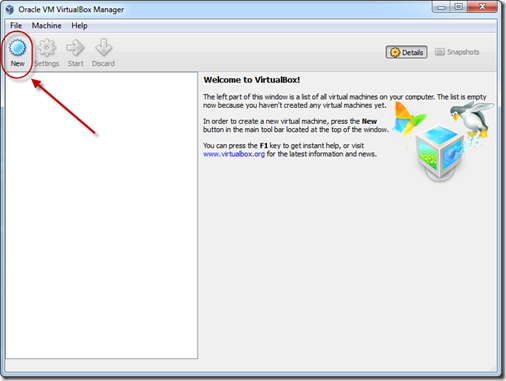
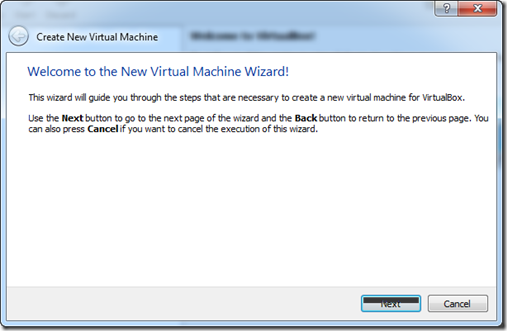
Now it is time to setup VirualBox. Go ahead and run it and select “New”…
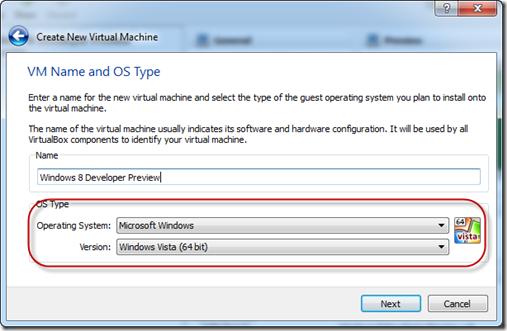
On the OS Type, I selected Windows and Vista 64-bit as obviously VirtualBox does not support Windows 8 yet. Other people have commented that Windows 7 x64 works as well.
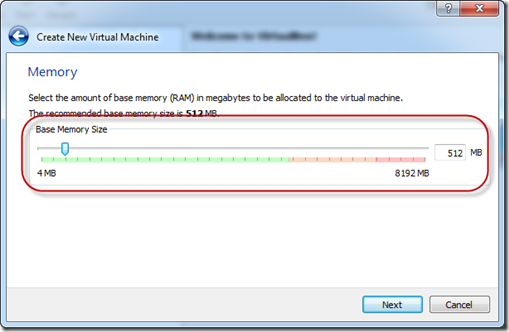
The next screen is Memory. I actually have 8GB in this machine but wanted to see the performance of 512mb. I would recommend setting this to at least 1-2GB.
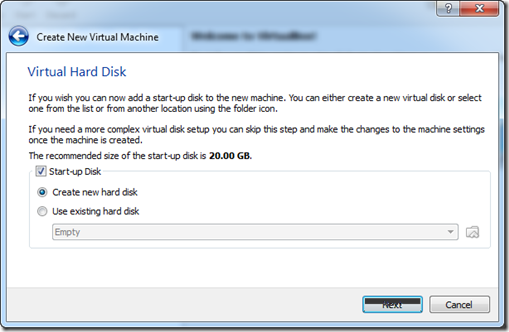
For Hard Disk, I simply created a new one.
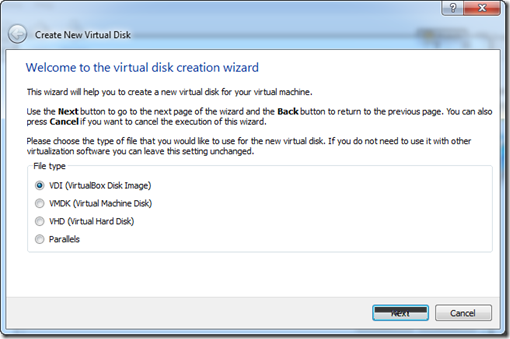
I set this to VDI as I never plan on using this VM with other virtualization software.
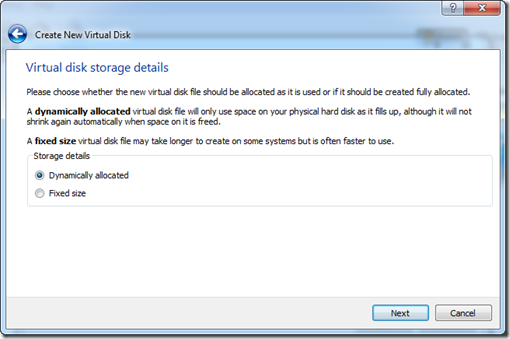
I opted for dynamically allocated because it will only use my physical hard drive if the VM requires it. (such as adding new programs, etc)
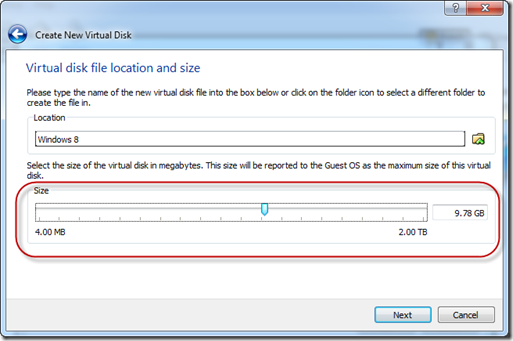
For this next screen, you DO NOT want to make this around 10GB as the install will alert you it needs more space. 15GB is the minimum but I would recommend at least 20GB.
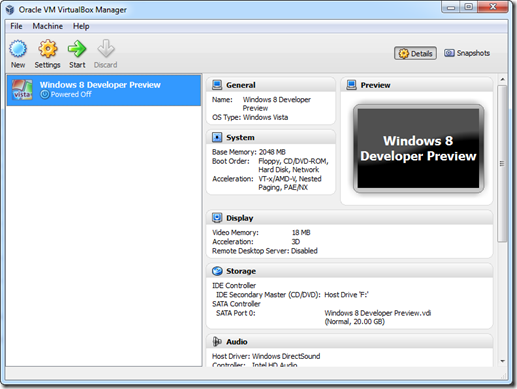
After clicking Next, you will have a VM ready to use.
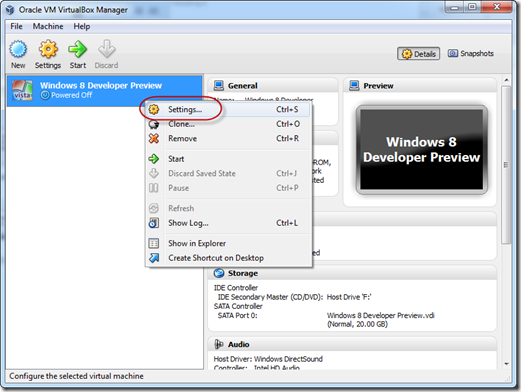
Before we run the VM, go ahead and right click it to make a few adjustments to the settings.
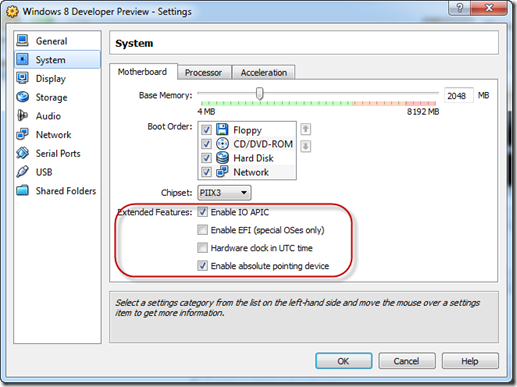
Go ahead and click on System and make sure you Extended Features looks like the following:
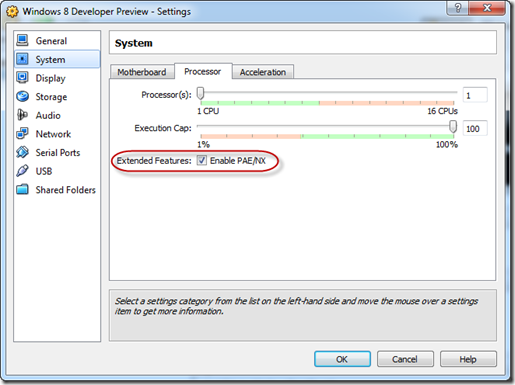
Make sure the next tab called Processor has the following checkbox checked.
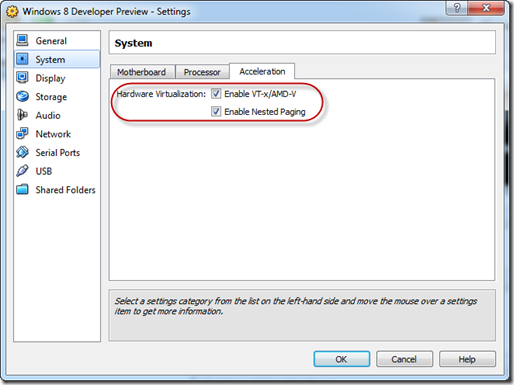
On the last tab, called “Acceleration” Make sure it looks like the following:
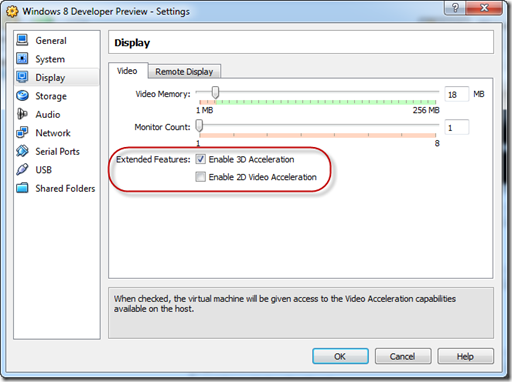
One last tweak is to enable 3D Acceleration on the Display Menu.
Step 6 – Liftoff
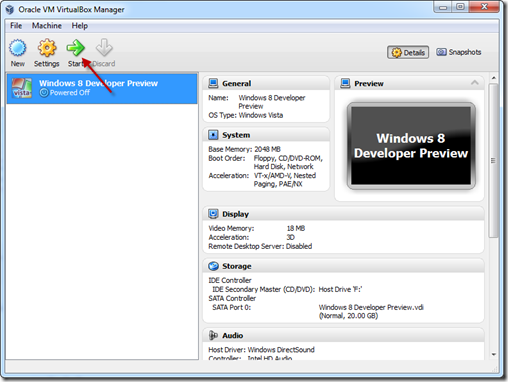
We are finally ready to run our machine. Hit the Start button.
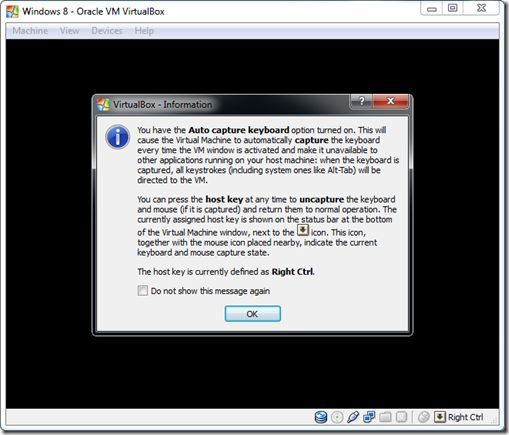
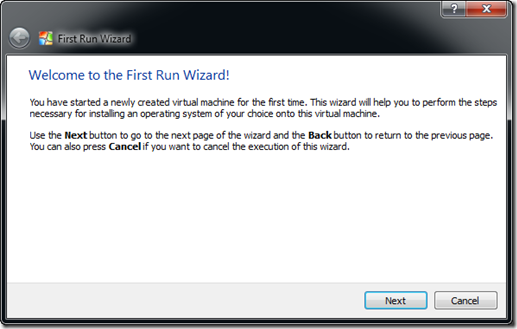
You will get the following screen. You may want to read it if your not used to virtualization software.
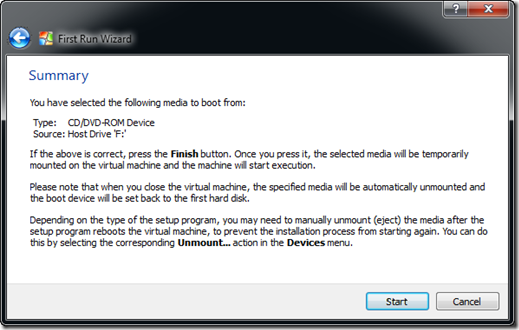
You should point it to the drive letter assigned to the .ISO image you mounted.
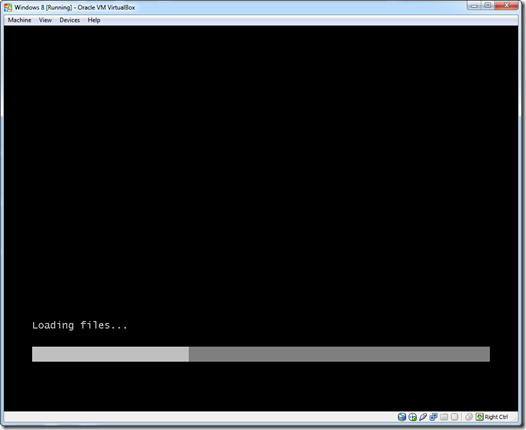
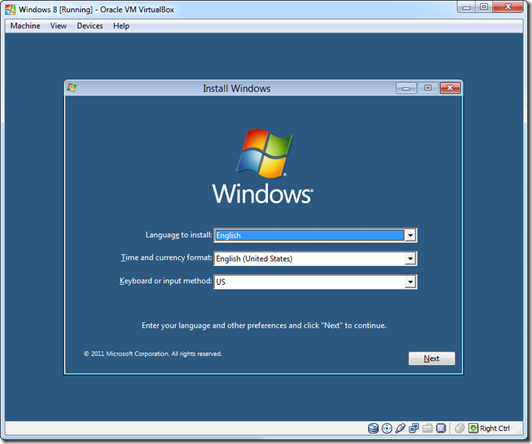
After you hit “Start” it should start copying files over…
Finish up with clicking next and the rest is as they say history.
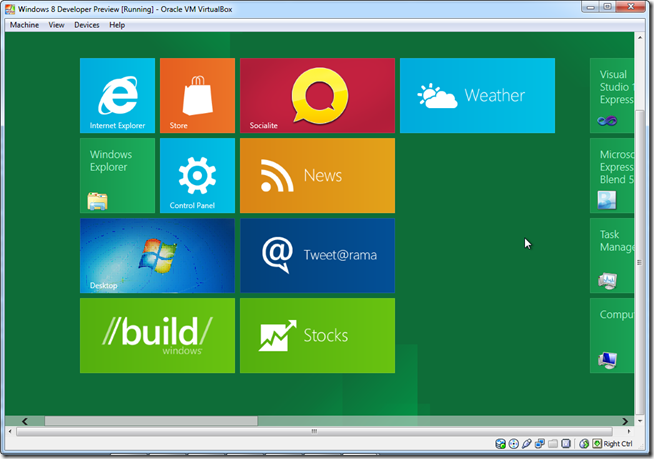
After it finishes installing, you can start enjoying Windows 8.
Pro Tip: For those having troubles with Win 8 apps running in VirtualBox: Increase your screen resolution to at least 1024x768. Thanks to @ArielBH for the tip.
Links
Some keyboard shortcuts for Windows 8.
TweetFollow mbcrumpNo new comments are allowed on this post.
Comments
No comments yet. Be the first!